Plotlife

Author: Lindsay Coope

  • How I Waged a 6 Year War With Pear Midge and…. [UPDATE] Lost Again

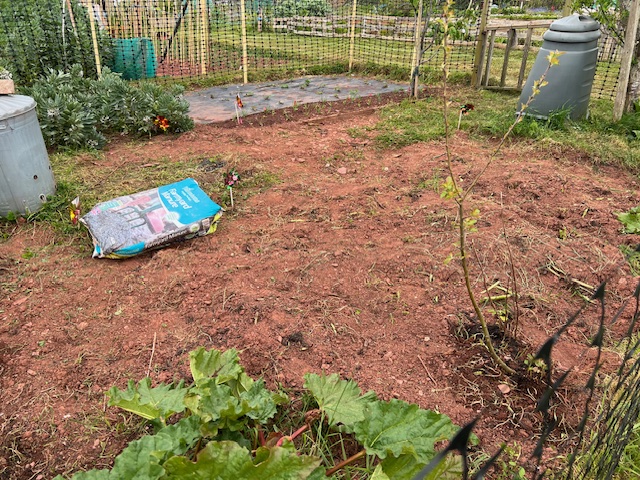
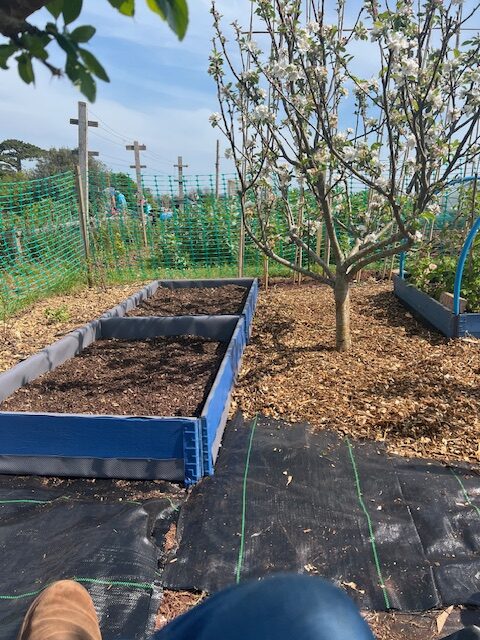
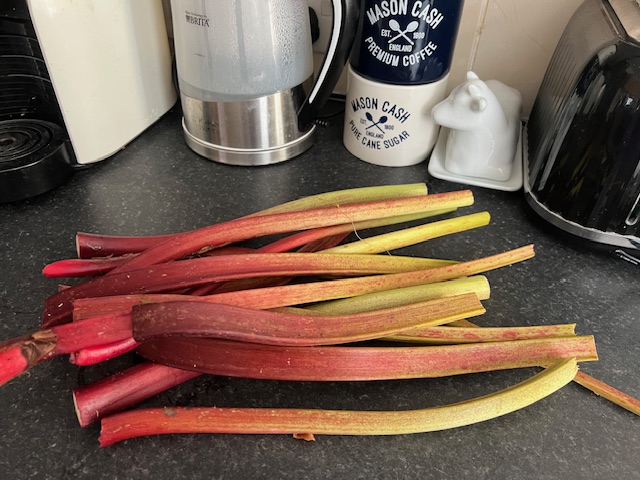
    When we were lucky enough to be given an allotment, I regarded any plants or trees we inherited as a bonus. Having seen the no man’s lands some beginner growers are allotted, swathed in mountains of detritus you’d need two skips to clear, I was very pleasantly surprised. Not only had the allotment recently been rotavated, giving us a clean slate to start from, but we were fortunate enough to inherit not just one, not two, but three mature fruit trees. Plus a rhubarb patch that continues to flourish with minimal effort. The gift that keeps on giving. As far as I’m concerned, we won the allotment lottery.

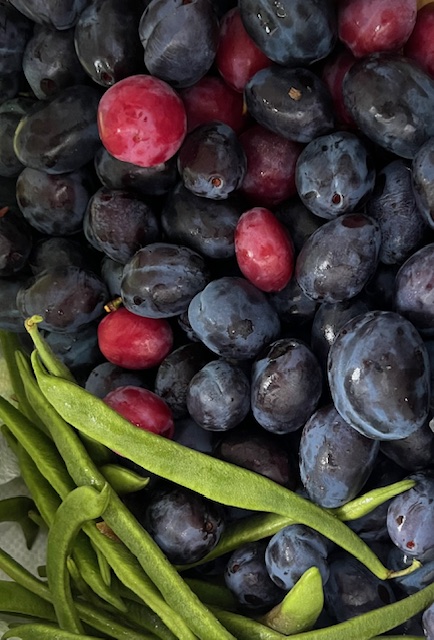
    There were two mature plum trees and a pear tree. As for the plum trees, one is colossal, and very old. They are both a bit temperamental, producing one year then nothing the next. I have come to realise that that nice honey dew drop by the stem of a ripe plum is not the sign of good health but a very, very bad omen. Now I split them open when I see this only to find the plums riddled with coddling moth larvae, which usually whittle through around half my crop, but that’s another story.

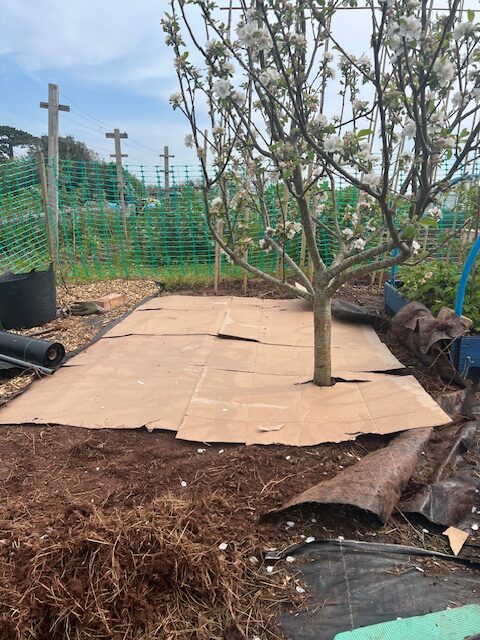
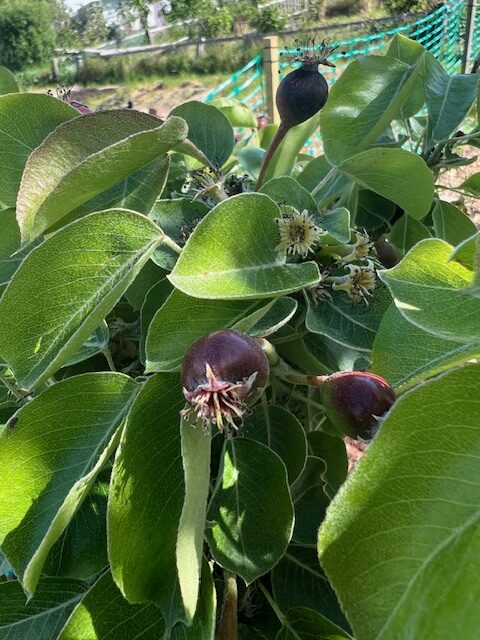
    As for the pear tree, isn’t she a stunner? Look at her, laden with blossom.

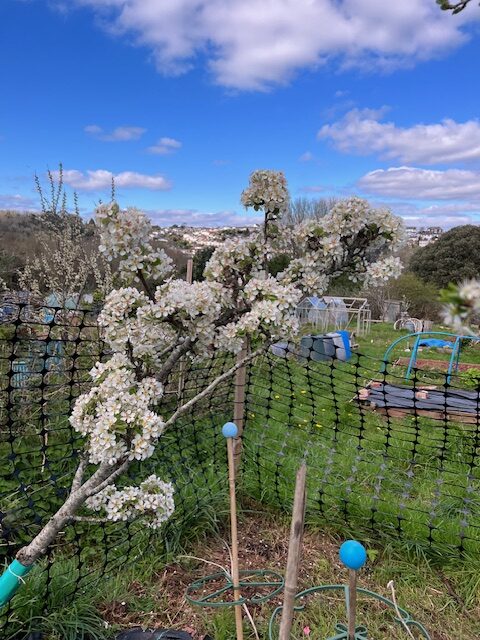
    Except, in a whole six years, I haven’t harvested a single pear.

    Au contraire, I hear you say. Look at her, laden with fruit.

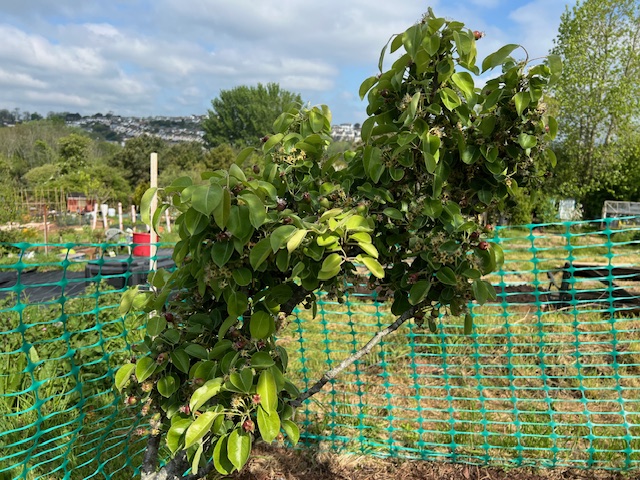
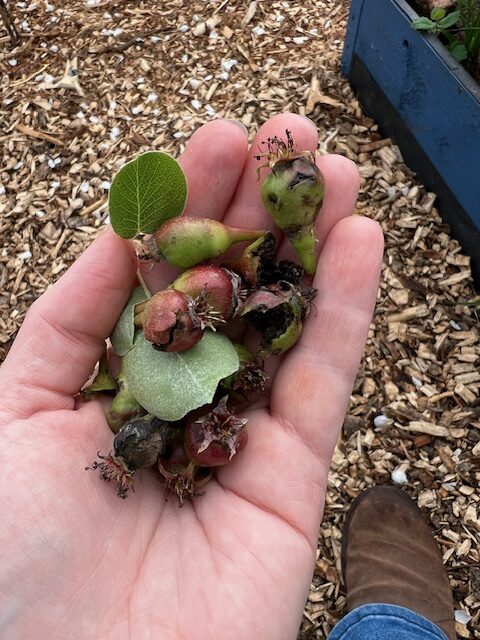
    Except not one edible pear. EVER. Want to know why? Pear midge, that’s why.

    Hate is an extreme word. Well, I loathe and detest this little parasite with every sinew of my being. Every year I’ve mounted an attack. Every year, I’ve suffered a dismal defeat. It always starts off looking good. Dripping with blossom, which slowly, slowly turns into fruitlets. Each May I wonder “Is this it… Could this be my year?” “Haha!” says the pear midge “Of course it isn’t!” promptly devouring MY crop, decimating every last pear.

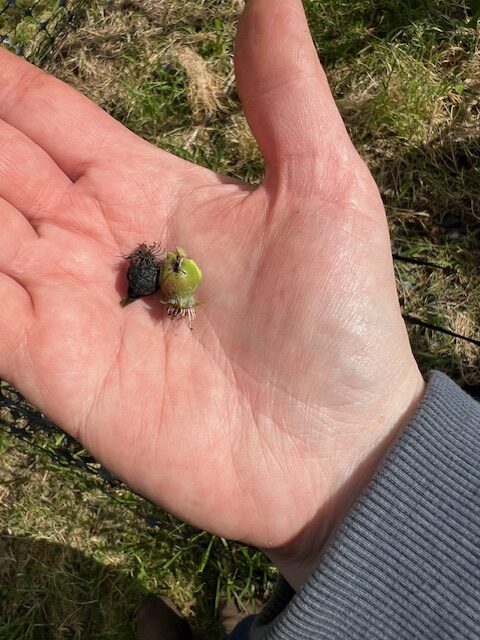
    A pear midge infestation is a particularly ugly and irritating thing. Having wintered in the soil, pupating, the midges emerge in spring, laying their eggs on the pear blossom just before bud break. The pear midge larvae bury into the fruitlets, eating them from the inside, eventually causing the pears to turn black and fall from the tree. And thus, this indescribably irritating little creature starts its cycle of devastation anew, robbing my beautiful pear tree of all of its fruit.

    I don’t mind admitting this issue has had me apoplectic at times. It is soul destroying. Yes, I know they’re just pears, but they’re MY PEARS!

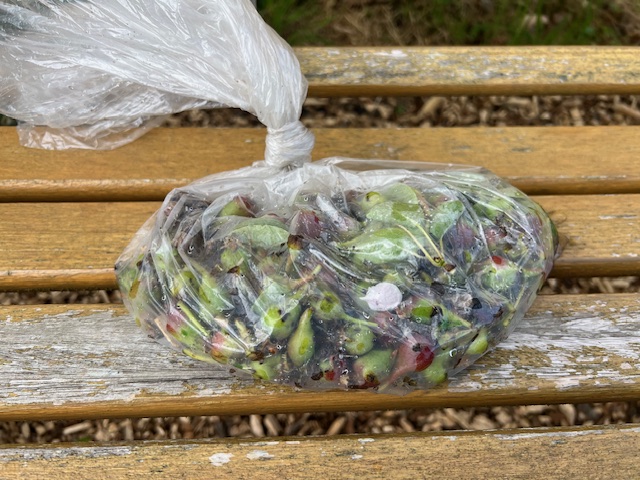
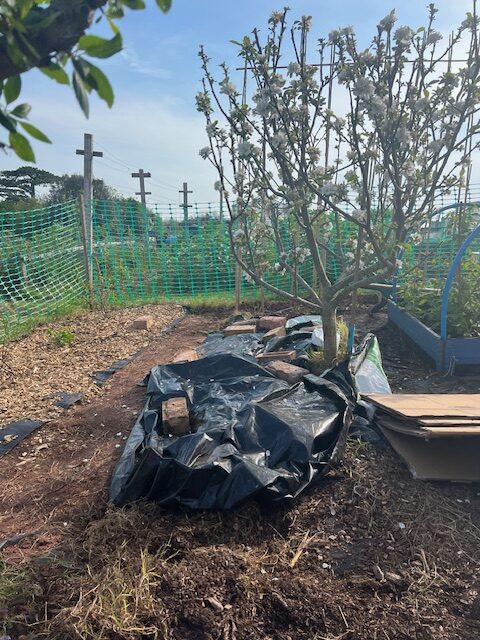
    Each year I’ve become more and more determined that things would be different. For two years I’ve removed every single fruitlet – supposedly breaking the cycle. I don’t know how, but the little scallywags still found a way of coming back last year. As soon as I noticed the tell-tale signs again last spring, I was meticulous. I picked every last fruitlet as soon as they formed, incinerating them. I laid a tarp on the ground just to be sure. But I still couldn’t quite believe they had gone, having gone through the same process the previous year only for them to come back again.

    This spring, just as the buds were about to break, I resorted to something I don’t usually do. I sprayed the tree. I don’t like using treatments. I’m not keen on relying on chemicals, even organic products. But let’s face it, if the farmers didn’t use pesticides, the shelves would be bare. I had to break the cycle.

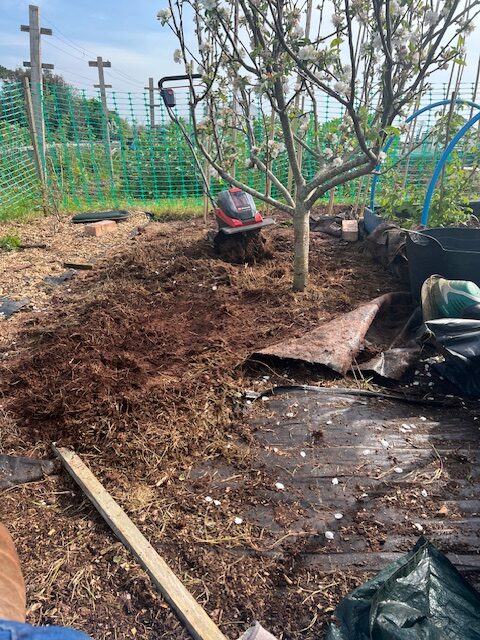
    If you’re looking for advice on which insecticide to use to treat pear midge, it isn’t that easy to find. Most sources focus on preventative measures, such as removing infested fruitlets early, cultivating the soil around the tree, and encouraging natural predators. Having tried all that to no avail, I knew I had to resort to something more drastic.

    The previous season I tried a winter wash followed by a neem oil wash to zero effect. Mulching then covering the ground – same thing. They just found their way back again. Googling potential solutions, I saw reports of one allotmenteer appearing at dusk every evening to hoover up the clouds of pear midges with a portable vacuum with a long pipe affixed, apparently with some success. But that was a level of crazy dedication I just didn’t have. I have heard of growers being so tormented by these little blighters they’ve actually resorted to laying concrete beneath the tree to prevent the larvae burying down. Yes, it sounds extreme, but I had no idea how irritating pestilence could be until I went through this myself.

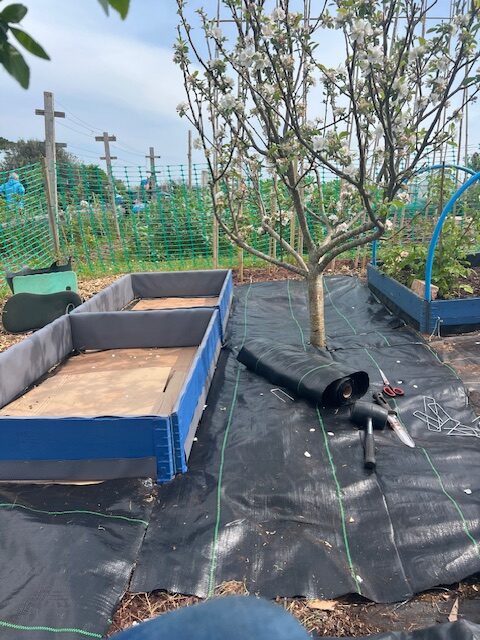
    Who knew that my problem had such a simple yet seemingly effective solution. Just prior to budbreak, I sprayed the tree, once, with Provanto Ultimate Bug Killer Concentrate. I’m pleased to say that it appears to have worked.

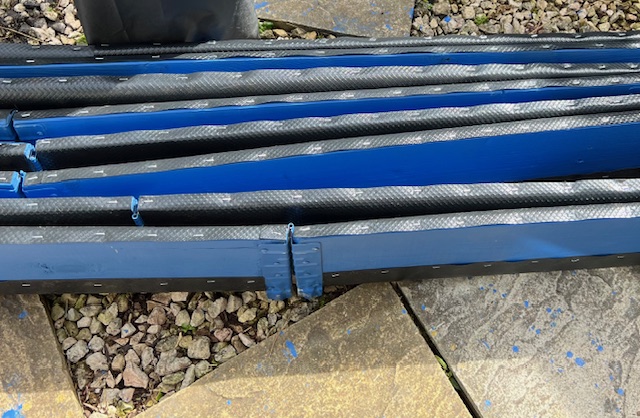
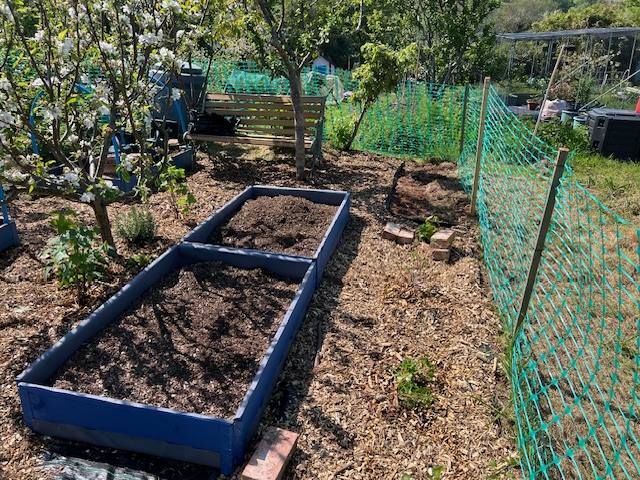
    I am mindful of bees (having happily coexisted with a bumblebee nest and tiny hornets’ nest all last summer). However, thankfully daytime temperatures were still in the single figures and the bees were yet to make an appearance. I sprayed early in the morning, just in case. I also strimmed underneath the tree and applied the pesticide to the grass, then re-covered it with tarpaulin. She appears to be in tip-top shape, finally.

    Now the cycle is seemingly broken, I’m hopeful I won’t need to do this again. I am apprehensive of congratulating myself too soon, for fear of discovering a tree full of rotten black fruit tomorrow. However, fingers and toes crossed, she does appear to be coming along handsomely.

    UPDATE: Having visited the allotment today, two weeks on, I see the little bleeders have done it again. I’m gobsmacked. Honestly, I really thought we’d cracked it. My mother-in-law, whose father was a farmer with orchards, says that once it sets in the tree is pretty much a goner. I’m starting to believe her.

    I have removed all the fruit, yet again, so none can drop to the floor to continue its rotten cycle. However, having undertaken this process several times now, I’m not really sure what there is left to do. It is a nice tree, but I’ve had zero fruit from it and it’s taking up precious space. I also have another pear tree and I’m worried the problem could transfer to that one.

    At this point I’m minded to repeat treat it through the year, treating the ground to get any pupae. I won’t be resorting to concrete. I think I’ll give it one last push, but if we lose the lot again next year (I’m loathed to say this) I think we’ll have to get rid of the tree.

    Pear Midge: 6

    Lindsay: 0

  • To Raised Bed or Not to Raised Bed?

    I’m not talking about “no dig”. I am no fan of Charles Dowding. I don’t dislike the man either, I just think he’s got a lot to answer for. Suddenly, there are legions of born-again no-diggers, roaming the streets and social media sites, waiting to pounce on some poor, unsuspecting allotmenteer and talk their hind legs off like members of some wacky religious cult. I’m too old and tired to involve myself with any of that.

    I do like a nice raised bed though. Don’t get me wrong – I like a neat and orderly traditional allotment too. My neighbour’s allotment is stunning. But I have come to understand that I’m simply not capable of that. I do not have the time to invest. When I attempted it (for several years) I just ended up in a big mess. This was the result, and it was hideous.

    In fact, it was far worse than that, but we don’t catalogue our failures, do we? I cringe when I look back.

    I can’t always guarantee I’ll get up to the allotment every day. Some weeks I do. Last week I put in a five hour stint every single day – slogged my guts out too – but that is practically unheard of. With a four and a seven-year-old, we play a pretty consistent game of pass-the-parcel with bugs (one off one week, the other the next, then me getting sick) that can easily wipe out several weeks of any kind of meaningful work beyond a bit of watering and weeding. Even that isn’t possible on a daily basis. For me, raised beds are a must, although I can quite understand why other people prefer to do it the other way.

    The year I installed my raised beds, I’d estimate it cost me somewhere in the region of £500. Yes, that is a ridiculous amount of money. I paid £15 for each pallet collar and bought seven, initially, restricted to one Facebook Marketplace seller in the local vicinity. The beds themselves came to £105, then there was Cuprinol paint (in Barleywood), damp coursing to line them with (I wanted to line them in long-lasting plastic to extend their lifespan), and a Stanley staplegun and staples (which I expected not to rust, but was unpleasantly surprised). Then there were rebars and blue plastic piping, weed membrane, netting, and an inordinate amount of woodchip and compost. I also invested in a wooden post/plastic mesh fence. The latter is completely ineffective at keeping pests out (particularly the two-legged kind pinching my strawberries), but does provide a visual barrier to keep the dog and children in.

    I know. It’s a stupid amount of money. I’ve completely negated the argument about the cost effectiveness of allotmenteering. But I was in a hurry, and I just wanted it done. Two years later, I’ve just replaced the bark chipping paths for free, which has provided me with ten bags of free compost with which to fill my new raised beds. As luck would have it, the allotment now has a supply of free woodchip. The raised beds themselves are holding up fine, so hopefully this arrangement should last for some time.

    You can achieve this, if not for free, then for an awful lot less than I paid. Timber and builders’ merchants often offer pallet collars for free. It pays to ask and ring around. Also, had I thought about it, I’d have done a longer distance run to one of those Marketplace or Gumtree sellers flogging pallet collars for a fiver and bought in bulk. But hey, hindsight is 20/20. There are often people giving wood, bark chippings and even compost away for free too. It’s a case of waiting and watching, but I was in too much of a hurry. I don’t regret it one bit though, because taking care of it has become a pleasure rather than a nightmare.

    I’m just about to touch up the paintwork on my raised beds but they are still structurally sound. I’ve just installed two more. I had intended to have two rows of raspberries, but apparently they didn’t like the spot. Planted in bare earth, they never really thrived, instead sending out runners and reestablishing themselves in a raised bed! So, I’ve decided to listen to them – they obviously like it there. I’ve introduced some more bare root raspberries in the raised bed and relandscaped their original spot. After rotavating the space, I laid cardboard, membrane and woodchip, leaving room for two new raised beds, which I’ll be planting with peas and brassicas soon.

    And for my next trick, I shall breathe new life in that poor, rusty old bench (which has served me well and hopefully will continue to do so).

  • Replacing Woodchip Paths

    This past week I’ve been trying to get my plot in order by replacing the woodchip paths. We laid these two years ago (cardboard, weed membrane, then a layer of bark chippings). On the whole, the paths have stood up well. Obviously, I don’t know about the cardboard underneath (or mind much), but the weed membrane looks like new (a long way from the disintegrating, murderous mess many allotmenteers warn about).

    One lesson I’ve learned over the years is that not all weed membranes were created equal. This is one instance where it is worth investing in better quality materials. I have only had good experiences with it, but where poor quality membrane has been left and forgotten about, I can see how it would turn from a help to a major pain in the backside (membrane + rotavator = disaster).

    The membrane was fine, so I left it in situ. The woodchip, on the other hand, had degraded significantly. My paths were a mess. Weed seeds had set, their roots delving down, thriving on the layer of compost that had formed underneath. I must admit, I did neglect the paths over the winter (having gotten off scot-free the year before). The weeds had caught up with me.

    I sat for hours with a riddle, weeding, scooping and sieving, throwing weeds in one bucket, intact woodchip in another, and retaining lovely free compost in a third. Having finally completed this laborious task, I have ten bags of good quality compost ready to go in my raised beds – enough for top ups and to create two new beds – and all for free!

    Is anyone else finding buying compost a bit of a lottery these days? I know I should make my own, but I don’t. Having been terrorised by a vole(!), the thought of enticing rats with smelly food scraps is too much for me. Besides, I have a family of slow worms (great for hoovering up slugs, snails and other nasties) living in my compost bin and I don’t have the heart to disturb them. Although the compost is still fine from Trago Mills (the go-to for many Devon gardeners), I’ve found other shop bought compost to be awful, full of coir, balled up clay, plastic, and even glass.

    Having spent several hours separating the wheat from the chaff, I also have a couple of sacks of woodchip to reuse. By a stroke of luck, the allotment recently acquired a free supply of bark chippings, meaning I can replace the paths without spending a small fortune (more money for seeds!). Best of all, I have my paths looking nice and tidy again, ready for the growing season ahead, and enough free compost to fill my two new raised beds.

    Rich in insect life and micro-organisms, homemade compost is proven to be more beneficial to plant growth  than commercially sold (this article from Compost Magazine delves deeper), so I’m hopeful my woodchip compost counts. And maybe, just maybe, I can create a continuous free supply by reusing the spent woodchip, but only time will tell.